How to Make a T-Trak Portable
UP5 Box
I spent some time with the TTrak guys and noticed that they had mounted their UP5s to some of their modules. In and of itself, this is not a bad idea except that I also noticed that the modules had a tendancy to shift around when throttles were plugged and unplugged from the UP5. This caused me to reflect on alternatives that might make things a bit better. Well, this is what I came up with. This solution is independant of the moudles, it is relocatable to anywhere on the layout and it is chainable with other Loconet devices.
I would like to stress that this is not rocket science here. I simply took everyday practices and everyday devices and applied a slightly different approach to their uses.
Anyway, have a look and feel free to try it on your own.
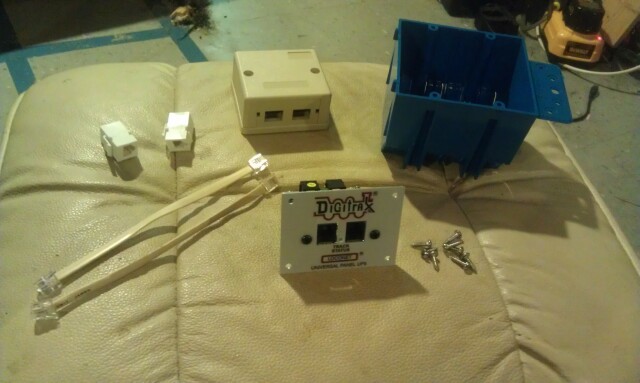
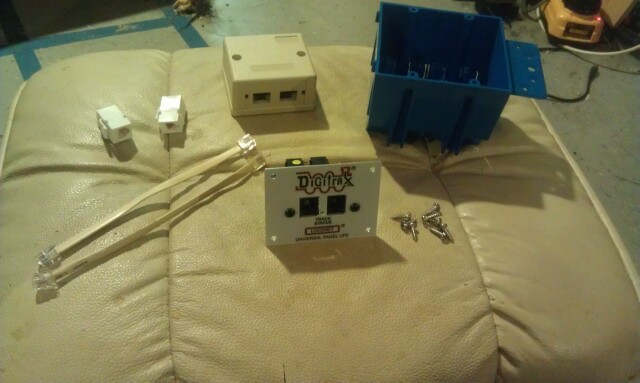
The following is a list of materials:
1 Double gang box from Home Depot.
1 Digitrax UP5.
1 Dual port RJ12 potato block from Bainesville Electronics.
2 RJ12 passthrough connectors from Bainesville Electronics.
2 6" Loconet cables (including connectors).
We begin with all the parts....
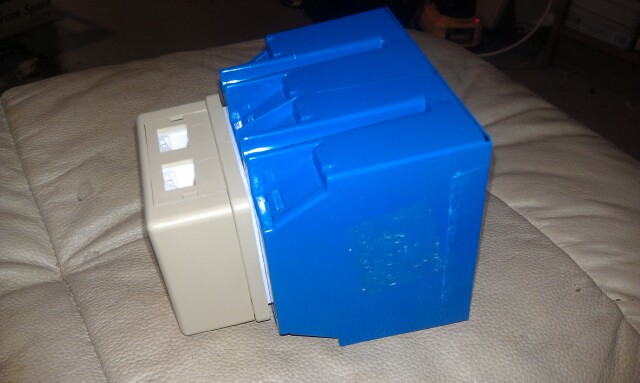
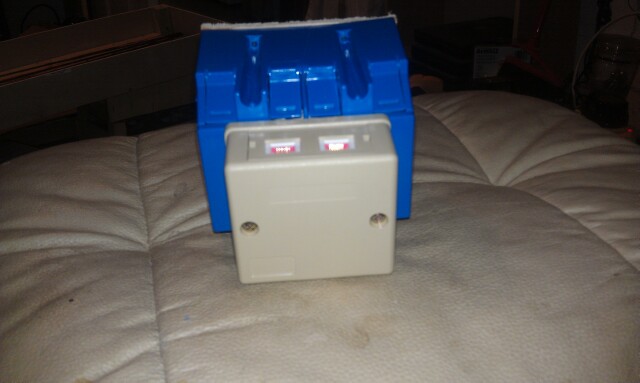
The first thing I do is trim off the tabs on the outside of the gangbox so the box looks like the following:

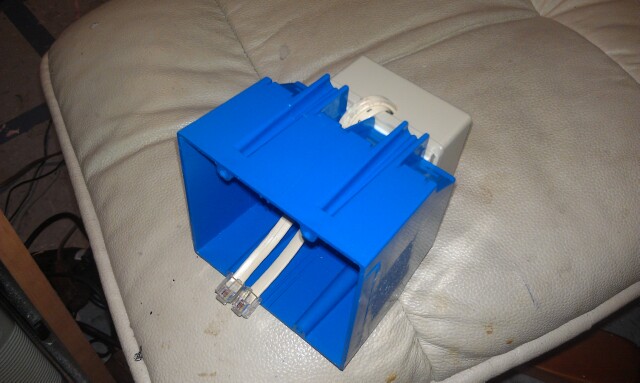
Then I added the potato block using the double sided sticky back to the back of the gangbox. Note that the RJ12 connectors are pointed up and centered on the box.
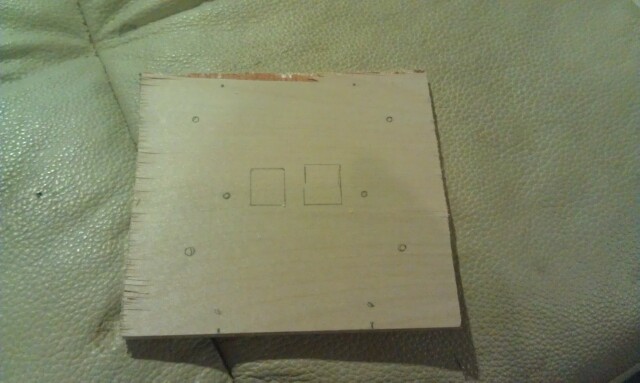
Trace the face onto some sort of 1/4" wood to be used as the mounting point for the UP5. This is used to cut out the opening for the UP5 and for the pilot holes for all the screws.
Connect the Loconet cables to the RJ12 passthrough connectors and mount them to the potato block. Route the Loconet cables through the single cable hole at the bottom of the potato block and into the gangbox via one of the punch openings. Assemble the potato block.
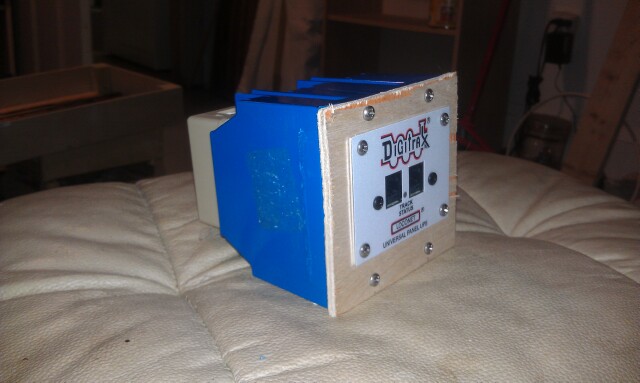
Mount the UP5 to the wooden faceplace using 4 screws. Connect the two Loconet cables to the back of the UP5. Mount the wooden faceplate to the gangbox using 4 screws.
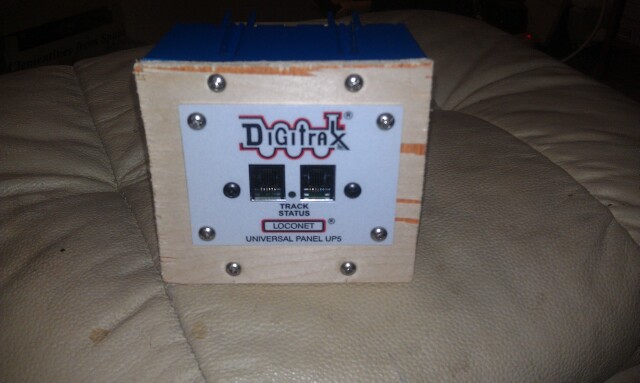
Congratulations...You're done! The unit is now ready to be painted and/or used.
The following are some pictures of the finished product.
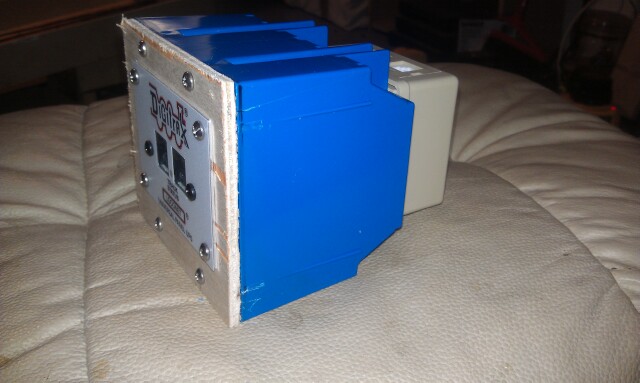
As I indicated earlier, this isn't rocket science. This is an easy, flexible way to introduce DCC into a TTrak layout.
I would like to stress that we have historically been N-Trak only modelers. It was by fluke that we tried messing around with T-Trak. It has turned out to be quite fun and is an addicting part of the hobby.
Just remember that playing with trains is suppose to be fun.