
How to convert a Clementine Crate into a T-Trak module
I recently ran into a T-Trak modeler who turned us on to the idea that a Clementine crate can make a good base for a T-Trak module. This struck our curiosity so we decided to have a try at it. As it turns out, he was right. With an hour or so of preparation, an otherwise discarded crate can make a good base for a standard straight, non-standard wide T-Trak module. The final size of the module is 12 1/8" X 9" which, is a standard length but a non-standard, albeit acceptable, width.
It should be noted that the reinforcing wood pieces were left over from an expansion project on our home layout. The strips were ripped 1" X 2"s that left us with a strip that is exactly 3/4" X 1/2". As it turned out, and quite by accident, these left over strips are perfect to use as reinforcing strips around the top of the module. This may sound confusing now but we will demonstrate their use later.
Anyway, have a look and feel free to try it on your own.
*** As an adendum, I have modified the process. Instead of using a foam core top, I have switched to a wooden top. I prefer 3/8" underlayment as it works just as well and has a lower cost. ***
The following is a list of materials and are generally available at Home Depot. The foam core is available at Michaels:
Clementine crate.
Approximately 3' of 3/4" X 1/2" wood strip.
16 - #4 wood screws.
4 - #8-32 Tee nuts.
4 - #8-32 1 1/2" bolts.
4 - #8-32 nuts.
Wood glue (Gorilla Wood Glue).
Flat Black spray paint.
Foam core poster board (12 1/8" X 9" minimum).
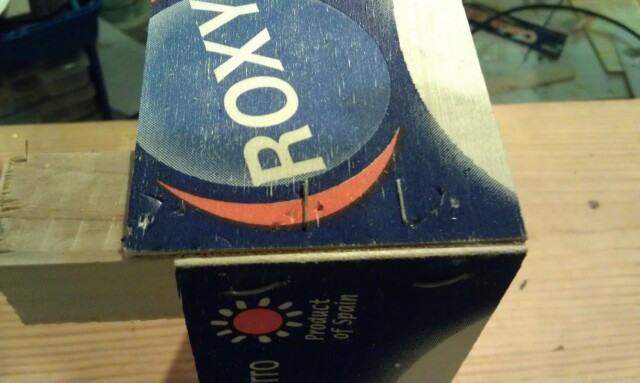
We begin with an empty Roxy Clementine crate....
We flip the crate upside down in order to begin removing the bottom of the crate.
We cut and remove the staples along the bottom plate. Once this is completed, the bottom of the crate is removed. We also inspect and remove all non-structural staples and any stickers that may be on the crate. We have encountered crates that use glue to hold the top of the crate in place. We scrape off the glue if it is present.
We discard the crate bottom and all the staples and/or stickers that have been removed.
We end up with something similar to this:
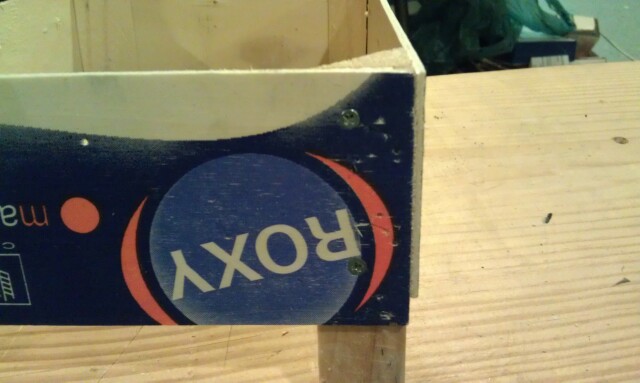
We begin inspecting each corner in order to determine whether they are square or not. If not, the corner will be minimally disassembled, glued and reinstalled.
Ultimately, the staples used on the corners will be removed and replaced with #4 wood screws.
The Staples are removed and glue added to the corner piece.
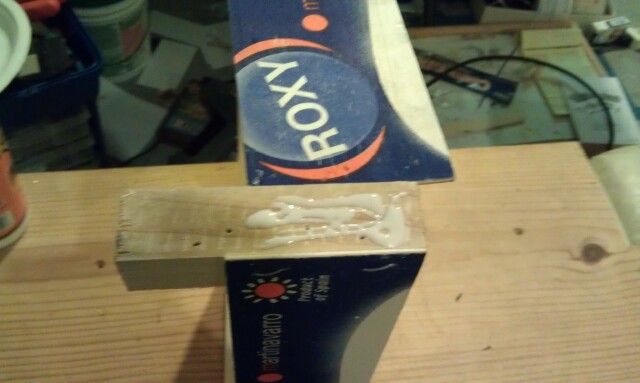
We then align the corner back into place. We use a standard staple gun to shoot a couple staples into place to hold the piece securely while we drill the pilot holes and screw the piece in place.
Once this has been completed, we remove the temporary staples.
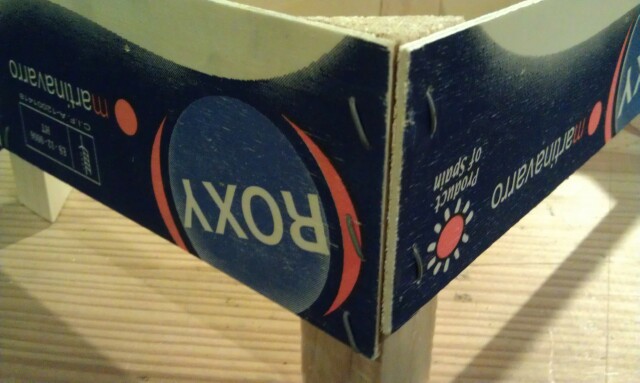
A completed corner:
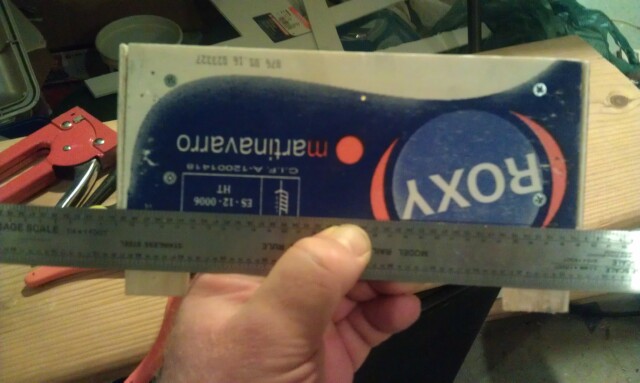
Once all the corners are completed, we trim off the ends and legs as they are a bit longer than the body of the crate.
We use a ruler to draw a cut line on the ends of the crate.
We don't have any fancy tools so we use a handheld jig saw to trim the excess.
We end up with this:

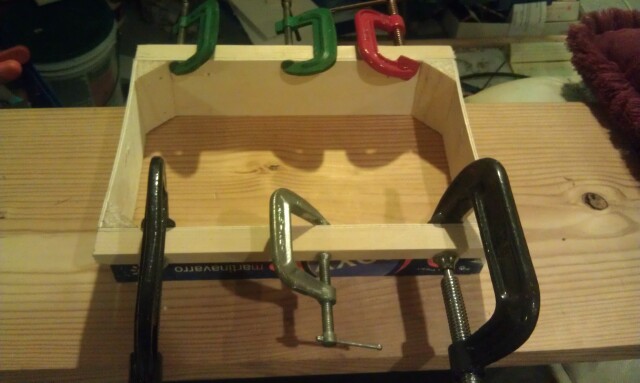
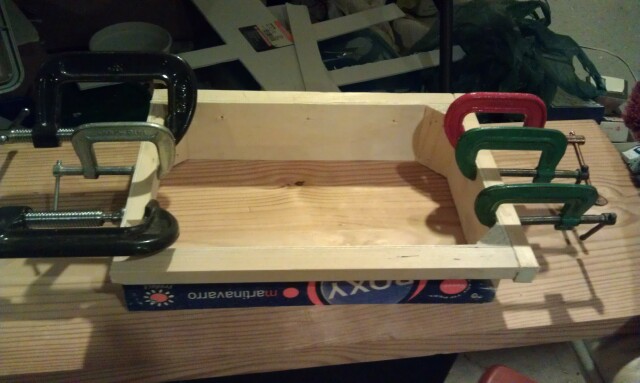
We then cut the side support pieces. We use the wide side up of the support pieces. They are glued and clamped into place and run the length of the crate. These pieces provide several functions: They reinforce the crate, widen the crate to approximately 9" and they provide a much better glue pad when the foam core top is added to the crate.
We then do the same for the end pieces. Note that one end has a support piece on the outside of the crate using the small side up and the other end is actually glued to the inside of the crate. This combination will extend the length of the crate to very close to 12 1/8" which is the length of a standard straight T-Trak module.
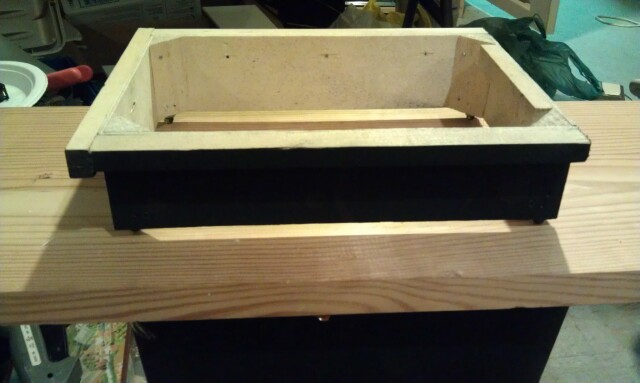
Once all the support braces are glued, we end up with something like this:
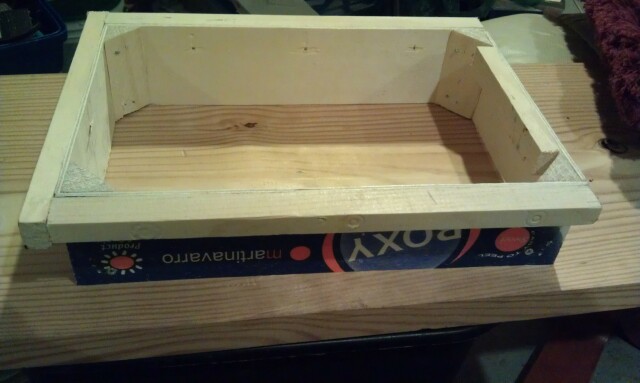
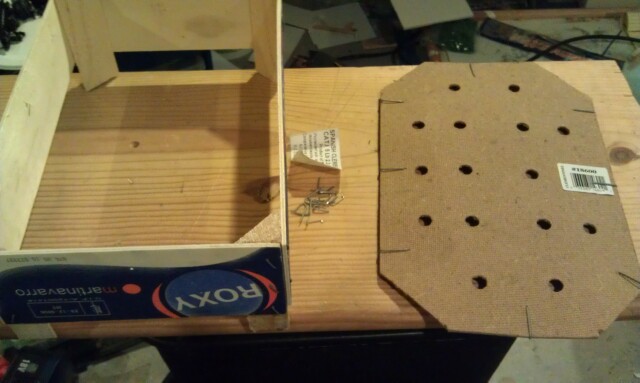
This leaves us with a raw module that is very close to, but less than 12 1/8" long and 9" wide:

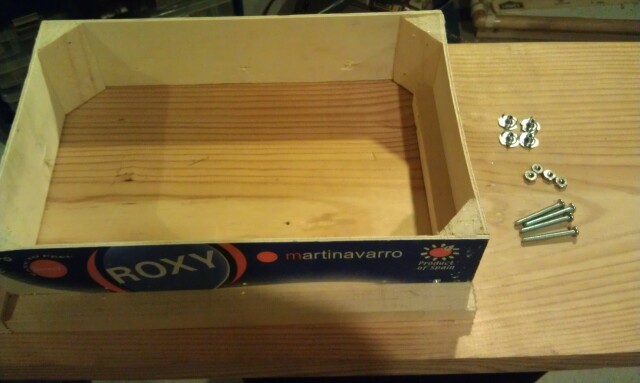
We then prepare to install the leveling legs. We need the Tee nuts, nuts and screws in order to accomplish this.
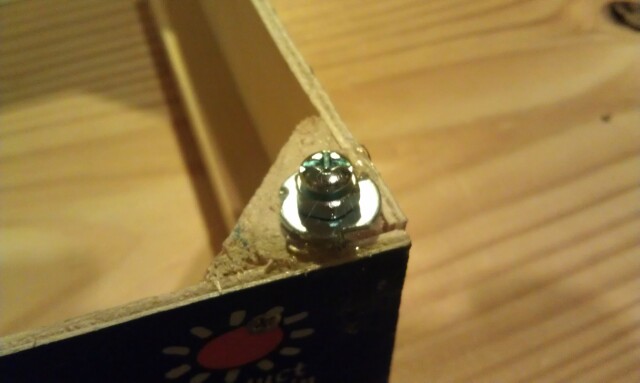
We drill holes in all four corners that are large and deep enough to accommodate the 1 1/2" screws and the Tee nuts. We install a nut on each screw to use as a lock nut when leveling. We hammer the Tee nut into place, add the screw with the nut. Once that has been completed, we shoot some hot glue on opposing sides of the Tee nut to aid in keeping the assembly in place.
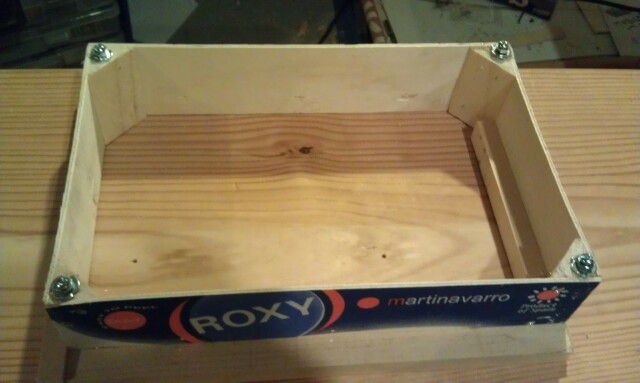
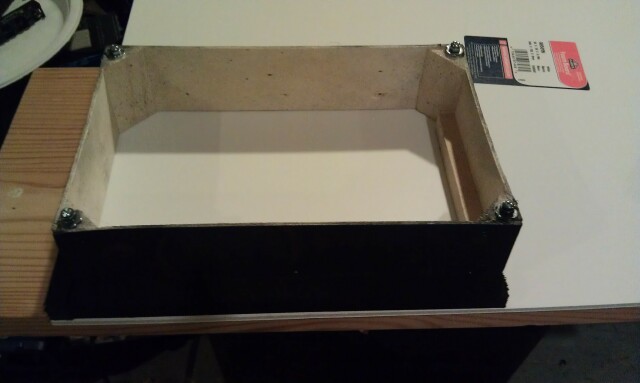
We end up with each corner looking something like this:
We then spray paint the outside of the crate using a flat black spray paint.
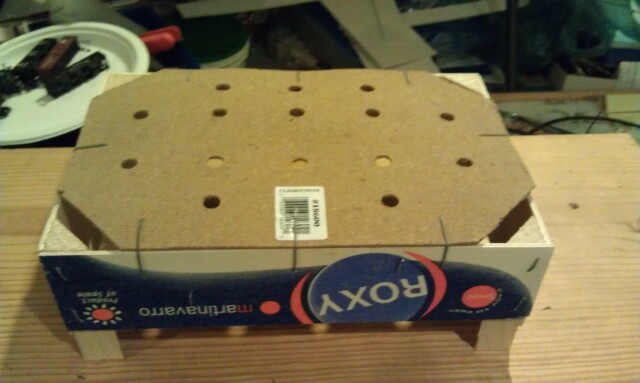
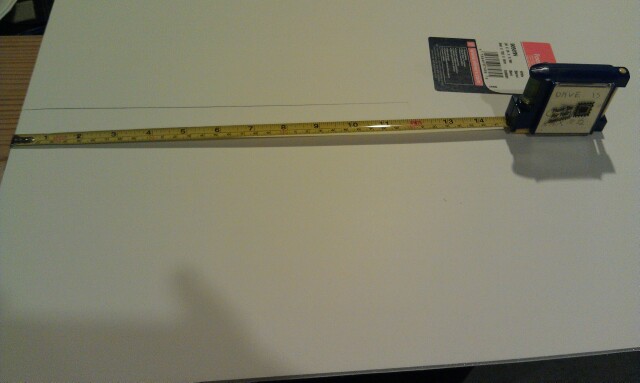
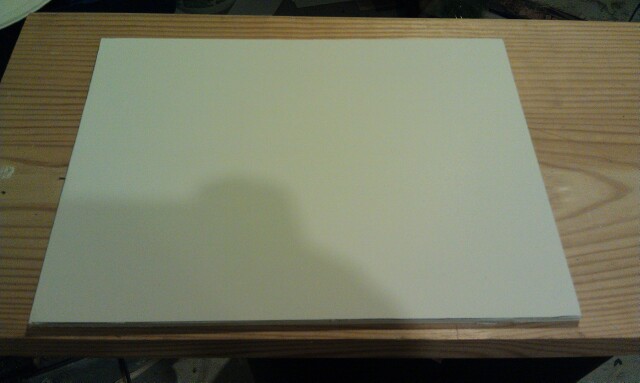
Now we are ready to add the foam core top to the crate. We trace the width of the crate on the foam core. We do not trace the length.
We measure the length of the module to 12 1/8" regardless of the actual length of the crate. Ultimately, there may be a small overhang on the module but we have found that this is quite acceptable.
Once the measurements are done, we cut the top piece. We now have a foam core piece that looks like this:
Now the top piece is ready to be glued to the module. We apply glue to the glue pads on the support structure paying particular attention to the corners as these appear to be the weak points of the module.
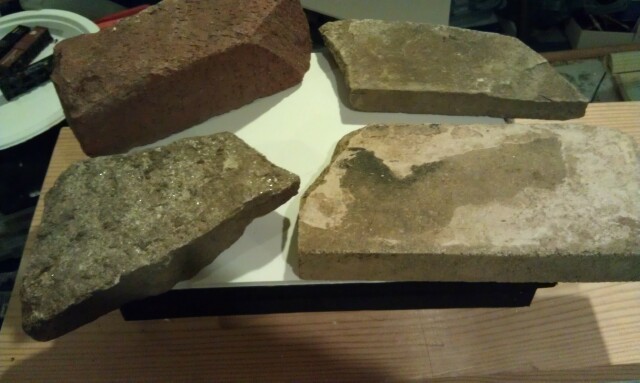
Again, we don't have much in the way of fancy tools so we hold the top piece in place the old fashioned way.
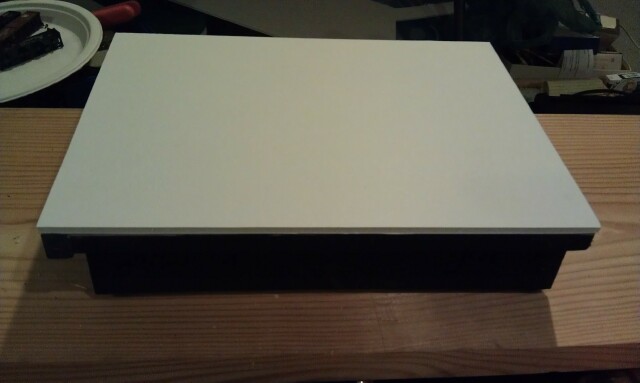
And here is the final product. A standard straight, non-standard wide T-Trak module that is ready to have the track installed.
As you can see, it is not difficult to repurpose a used Clementine crate to a T-Trak module. We have taken this tact for several reasons: First, we don't have the tools available to us to create a module from scratch. Second, there is a definite shortage of module kits providers thanks to Lee Monaco-FitzGerald's efforts to stifle anyone from mass producing module kits for profit. And finally, we absolutely refuse to allow Lee Monaco-FitzGerald to benefit from us directly by forcing us to purchase module kits from her organization.
I would like to stress that we have historically been N-Trak only modelers. It was by fluke that we tried messing around with T-Trak. It has turned out to be quite fun and is an addicting part of the hobby.
Just remember that playing with trains is suppose to be fun.